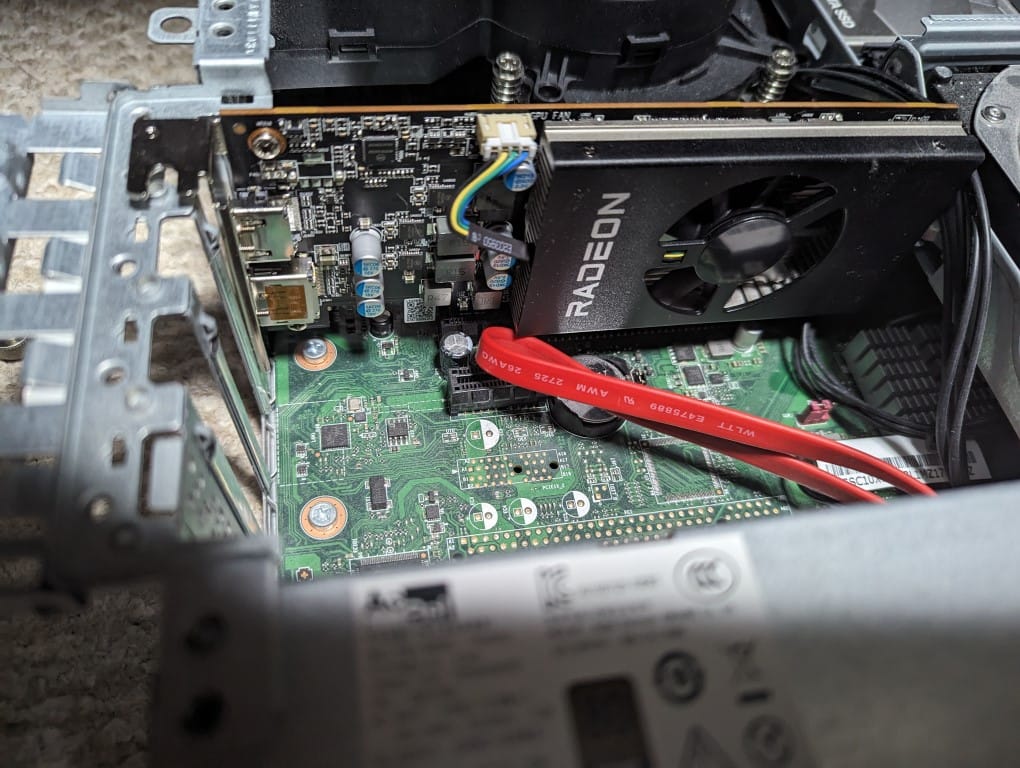
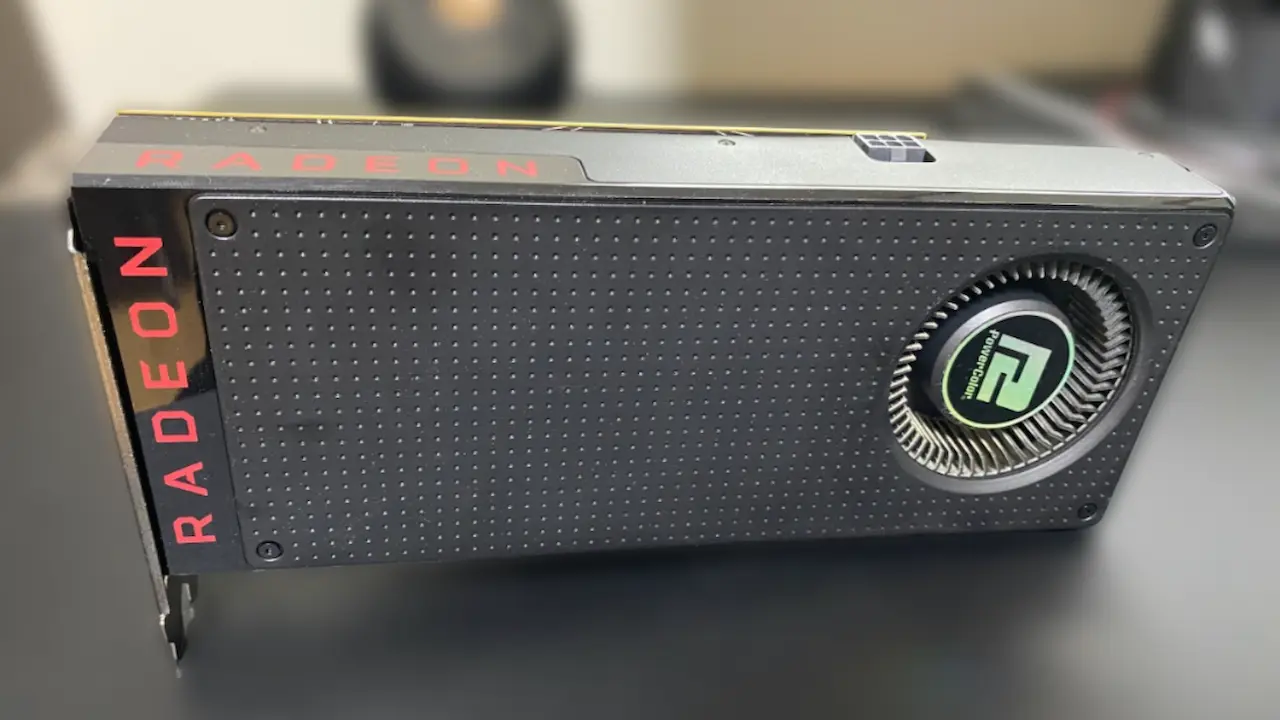
AMD Radeon RX6400でStable Diffusion

AMD Radeon RX6400を搭載したPCのWindows 11環境でStable Diffusionをコンパイルして実行する手順です。
手順のサマリー
gitで落としてコマンドラインを編集して実行
# summary
git clone https://github.com/lshqqytiger/stable-diffusion-webui-directml.git
cd .\stable-diffusion-webui-directml\
git submodule init
git submodule update
code .\webui-user.bat
# add set COMMANDLINE_ARGS= --no-half --precision full --skip-torch-cuda-test  --medvram --opt-split-attention --opt-sub-quad-attention
.\webui-user.bat
Stable Diffusion WebUI DirectMLを導入
Stable Diffusionは通常CUDAを使用しますが、Radeon環境ではそのままでは動作しません。代わりにMicrosoftが提供しているDirectMLを使用して動くようにした「Stable-Diffusion WebUI DirectML」を使います。
- Python 3.10をインストール
Python公式サイトからPython 3.10をダウンロードしてインストールします。
- Gitをインストール
Git公式サイトからGitをダウンロードしてインストールします。
- リポジトリをクローン
lshqqytiger/stable-diffusion-webui-directmlのリポジトリをお好みの場所にクローン
git clone https://github.com/lshqqytiger/stable-diffusion-webui-directml.git
- webui-user.batを編集
webui-user.batファイルを開き、以下の行を編集
torch-cuda-testのスキップ、半精度浮動小数点数演算のエラー回避、メモリ不足の回避が必要でした。
set COMMANDLINE_ARGS= --no-half --precision full --skip-torch-cuda-test --medvram --opt-split-attention --opt-sub-quad-attention- webui-user.batを実行
コマンドプロンプトで以下のコマンドを実行します
.\webui-user.batコンパイルが通ればブラウザが開いて実行できます

参考リンク
AMDのグラフィックボード (Radeon) にStable Diffusion Web UI AUTOMATIC1111 DirectMLをインストールする
こちらはAMDのRadeonでStable Diffusionを試してみたい方向けの記事になります。NVIDIAのグラフィックボードでStable Diffusionを試してみたい方は以下の記事をご覧ください。

StableDiffusionのWebUIを使いたいのですが、 - 生成しようとすると“RuntimeError:“LayerNorm... - Yahoo!知恵袋
StableDiffusionのWebUIを使いたいのですが、 生成しようとすると“RuntimeError:“LayerNormKernelImpl”notimplementedfor’Half’”というエラーが出てしまいます。ブラウザはFirefoxで、Intel搭載のMacを使っています。調べてみて、ブラウザのキャッシュを削除するなどしてみたのですが直りませんでした。どのようにすれば直すことができるでしょ…


